How Can We Help?
-
Admin Dashboard: Overview
- Articles coming soon
-
Admin Dashboard: Modules
- Dashboard
- Reports
- Appointments
- User Role Manager
- Calendar
- Payments
- Customers
- Services
- Staff
- Conditional Prices
- Locations
- Coupons
- Gift cards
- Taxes
- Workflows
- Invoices
- Custom Forms
- Appearance
- Staff Commissions
- How to Register a Free Curlec Merchant Account
- Setup Razorpay Curlec Payment on e-Janji
- Show Remaining Articles (6) Collapse Articles
-
Admin Dashboard: Settings
- General Settings
- Custom Appointment Statuses
- Waiting List
- Reorder the booking steps
- Payments settings
- Payment methods
- PayPal Payment Gateway
- Stripe Payment Gateway
- Company details
- Operating hours
- Holidays
- Email Notifications
- Booking Limit Manager settings and instructions
- Booking Limit manager
- Microsoft Outlook Calendar: Settings
-
Features
- Customer dashboard
- Multi-booking
- Custom Durations
- Breaks & Days-off
- Multiple Locations Booking
- Update appointment status with Workflow
- Group Appointment
- Bring people with you
- Multi-level Categories
- Recurring appointments
- Extra Services
- WhatsApp message templates
- Payment Links
- Cash On Delivery (COD)
- Deposit Payments
- Continue with Google
- Continue with Facebook
- Show Remaining Articles (2) Collapse Articles
-
Integrations
- Google Calendar
- Zoom
- Webhook ( Zapier, IFTTT integration )
- WhatsApp notifications
- SMS Notifications
- Telegram Notifications
- Microsoft Outlook Calendar: Intro
- How to send WhatsApp notifications in e-Janji using OnSend
- JSON Sample Code - Appointment Confirmation
- JSON Sample Code - Appointment Reminder
- JSON Sample Code - Appointment Rescheduled
- JSON Sample Code - Appointment Cancellation
- How to Register a Free Curlec Merchant Account
- Setup Razorpay Curlec Payment on e-Janji
-
Account
-
Business Profile
< All Topics
Print
Microsoft Outlook Calendar: Settings
Updated
Outlook calendar settings
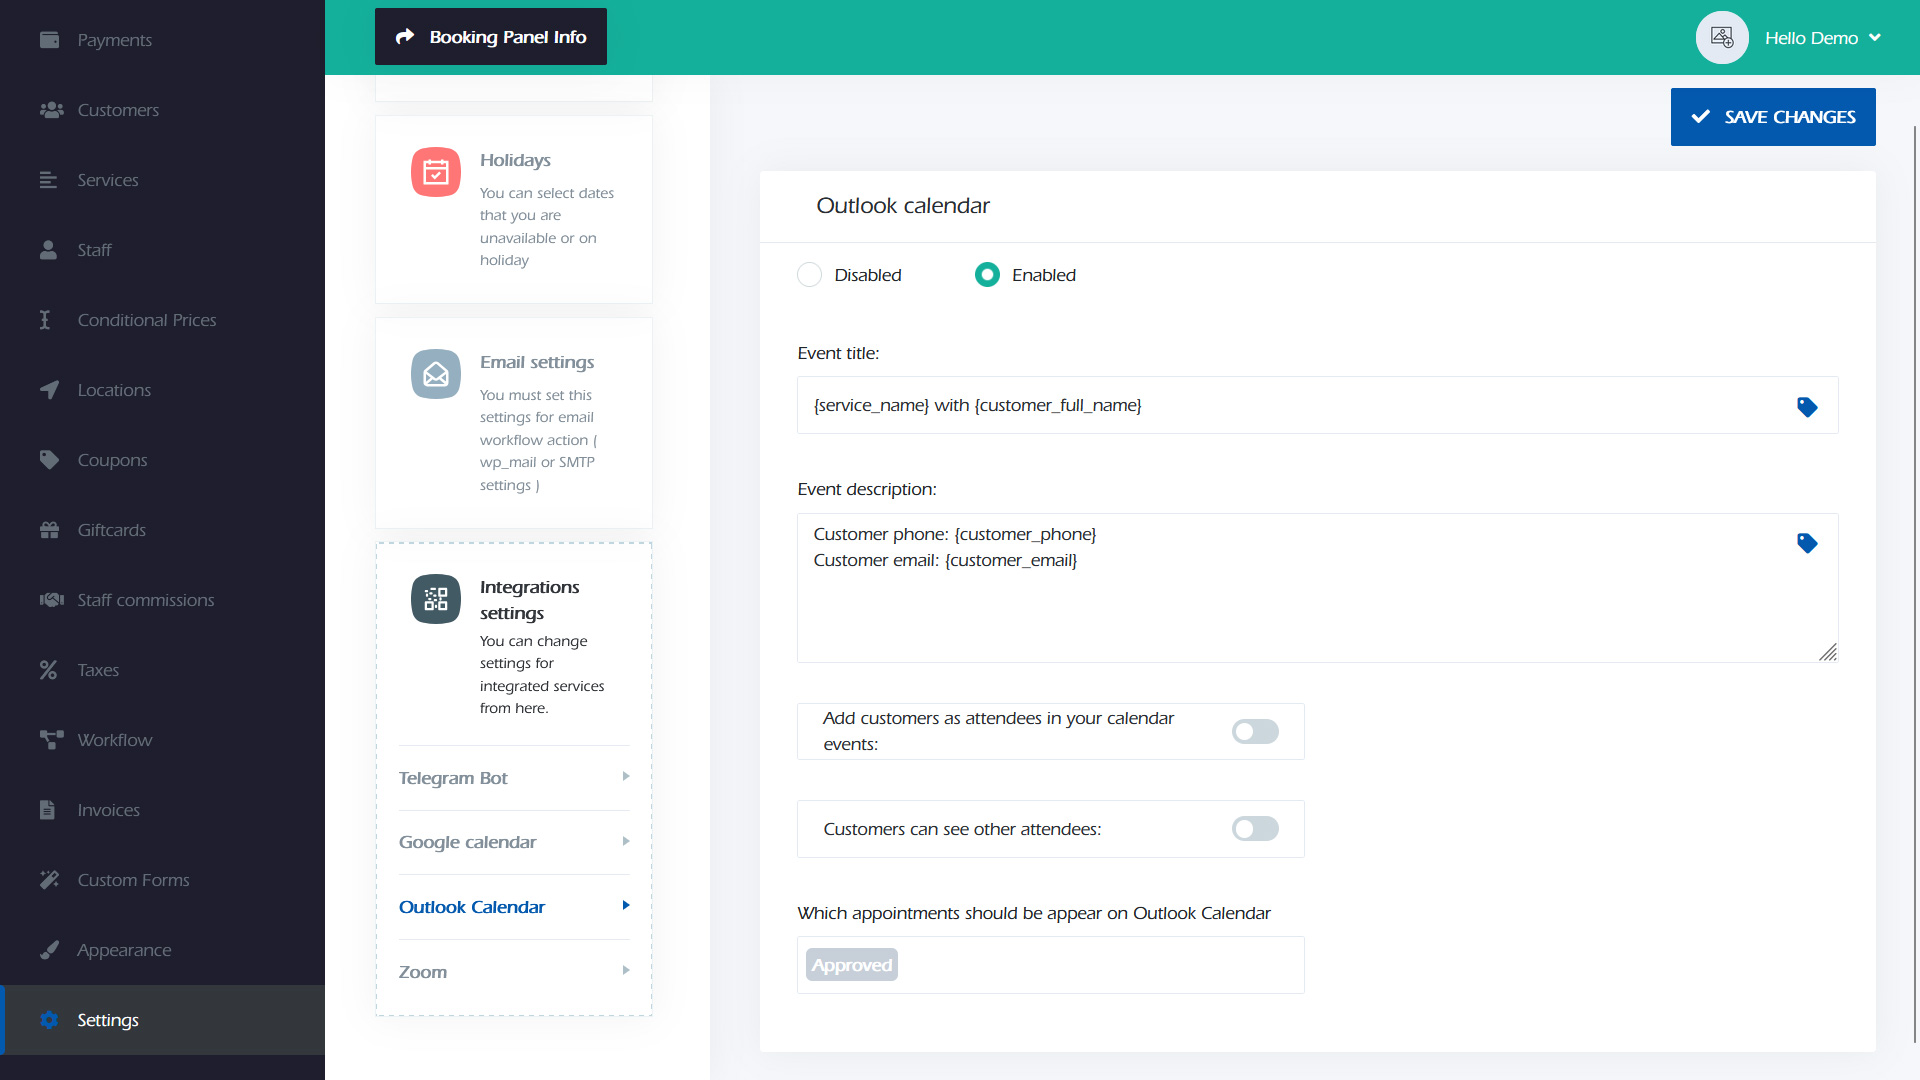
Step 1: Go to the e-janji settings > Integrations settings > Outlook Calendar and enable it.
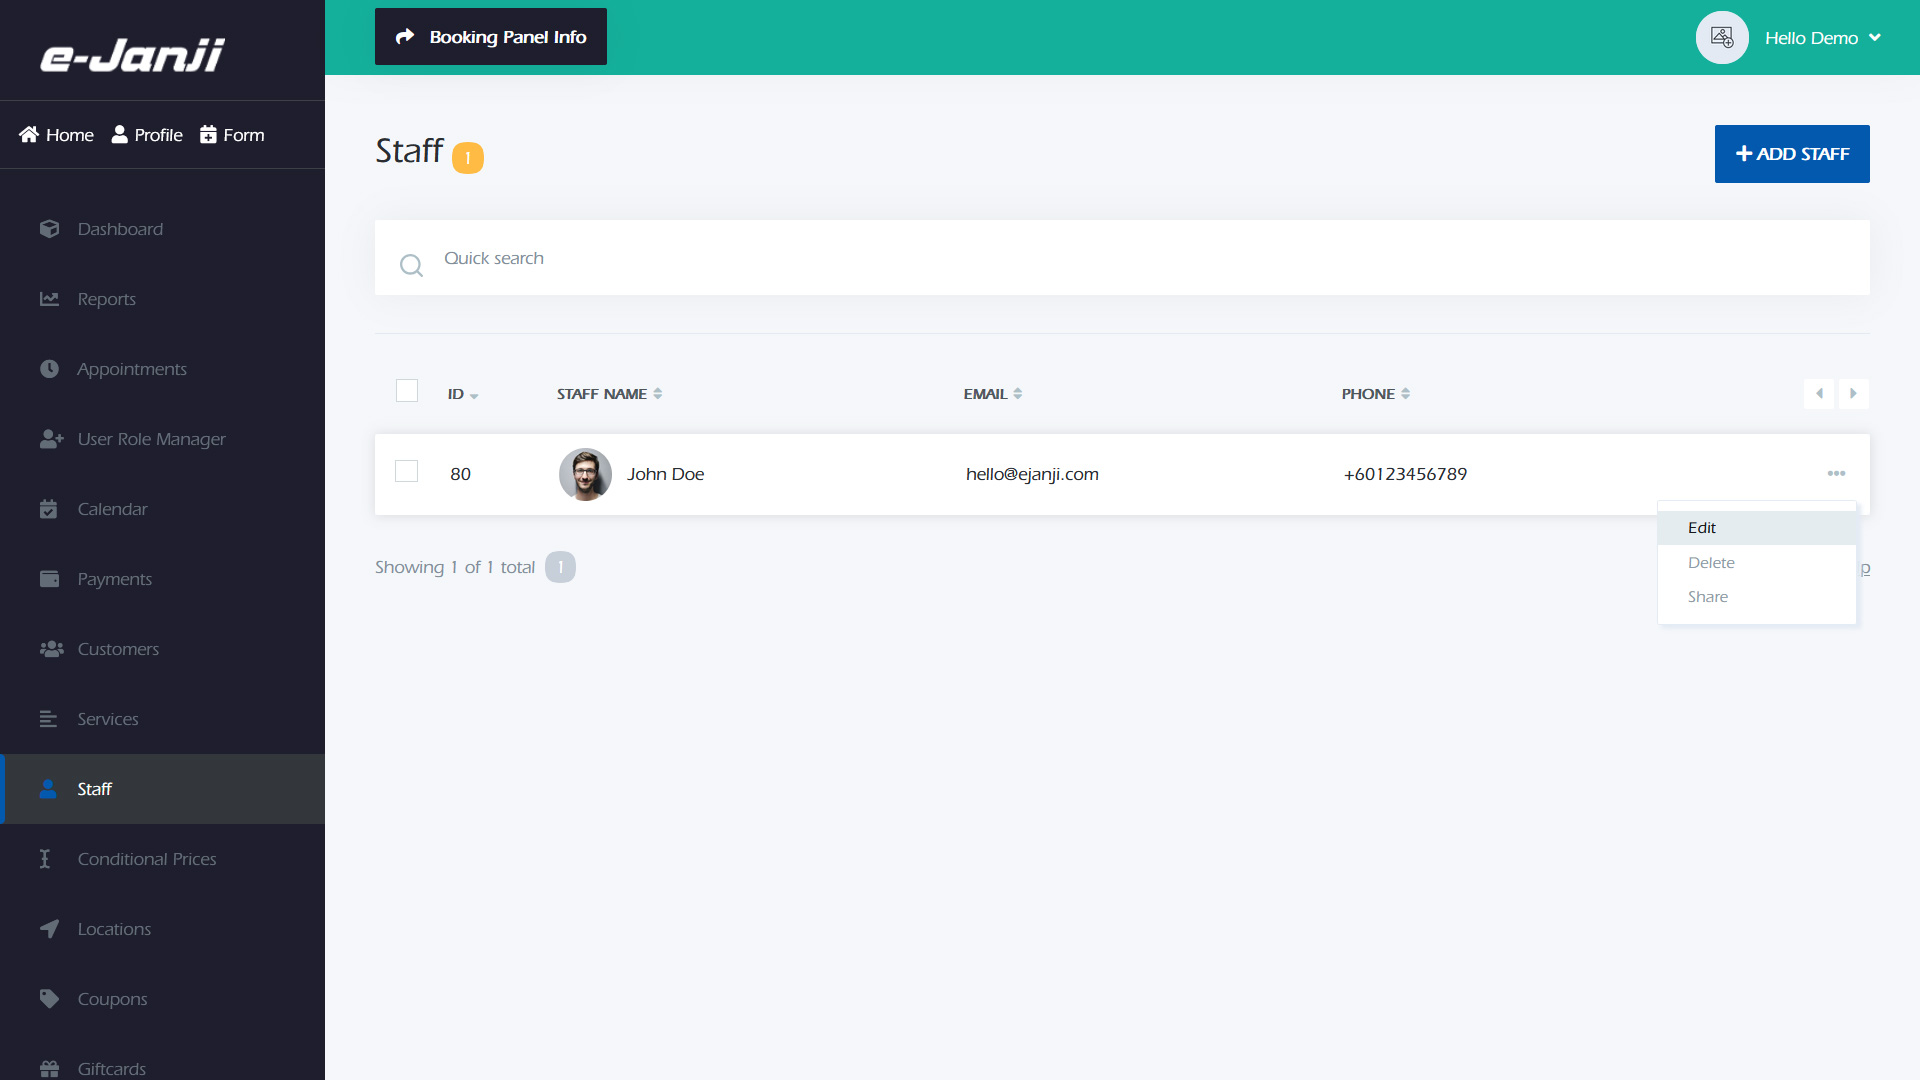
Step 2: Navigate to the “Staff” section in the e-Janji dashboard. Choose the staff member you wish to connect with Outlook and select “Edit”.
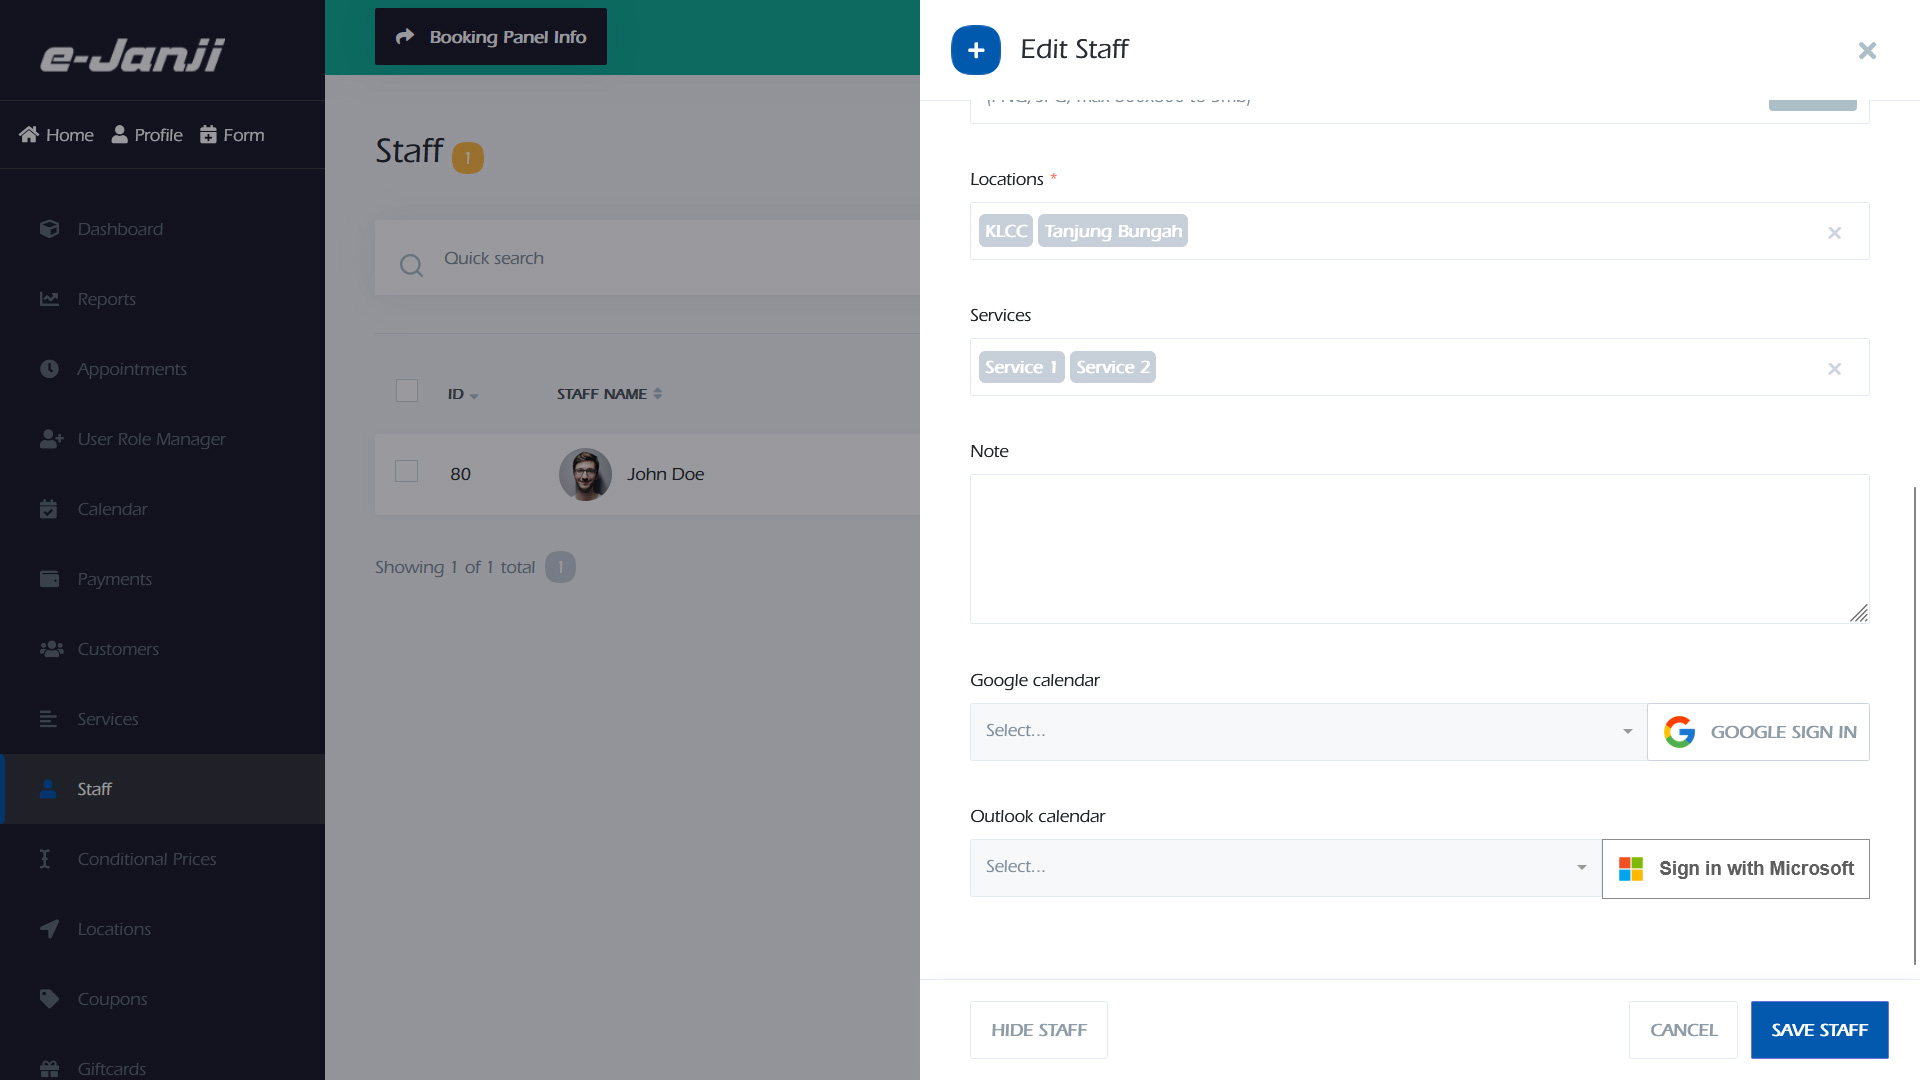
Step 3: Find the “Outlook calendar” section in the Staff edit option. Select the “Sign in with Microsoft” button.
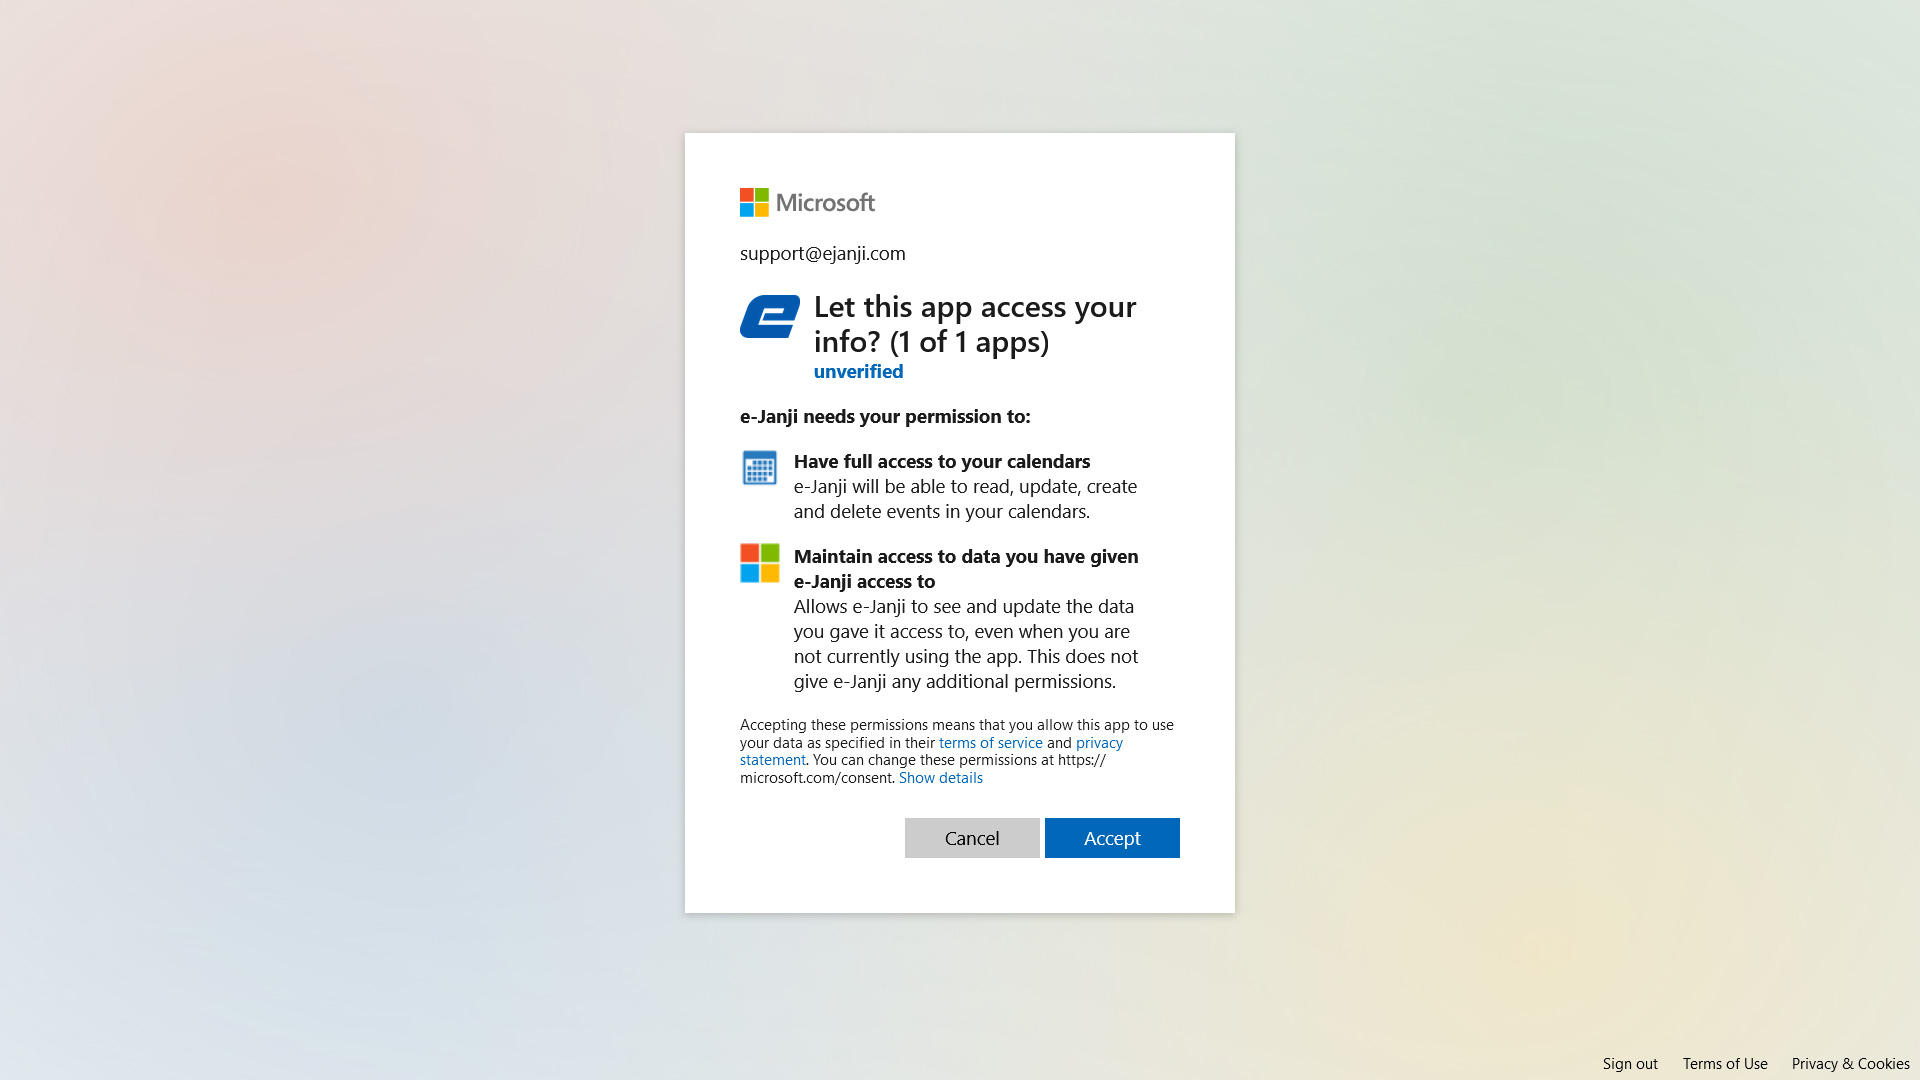
Step 4: Sign in using your Microsoft account. Grant the required permissions for the app to access calendar information by selecting “Accept”.
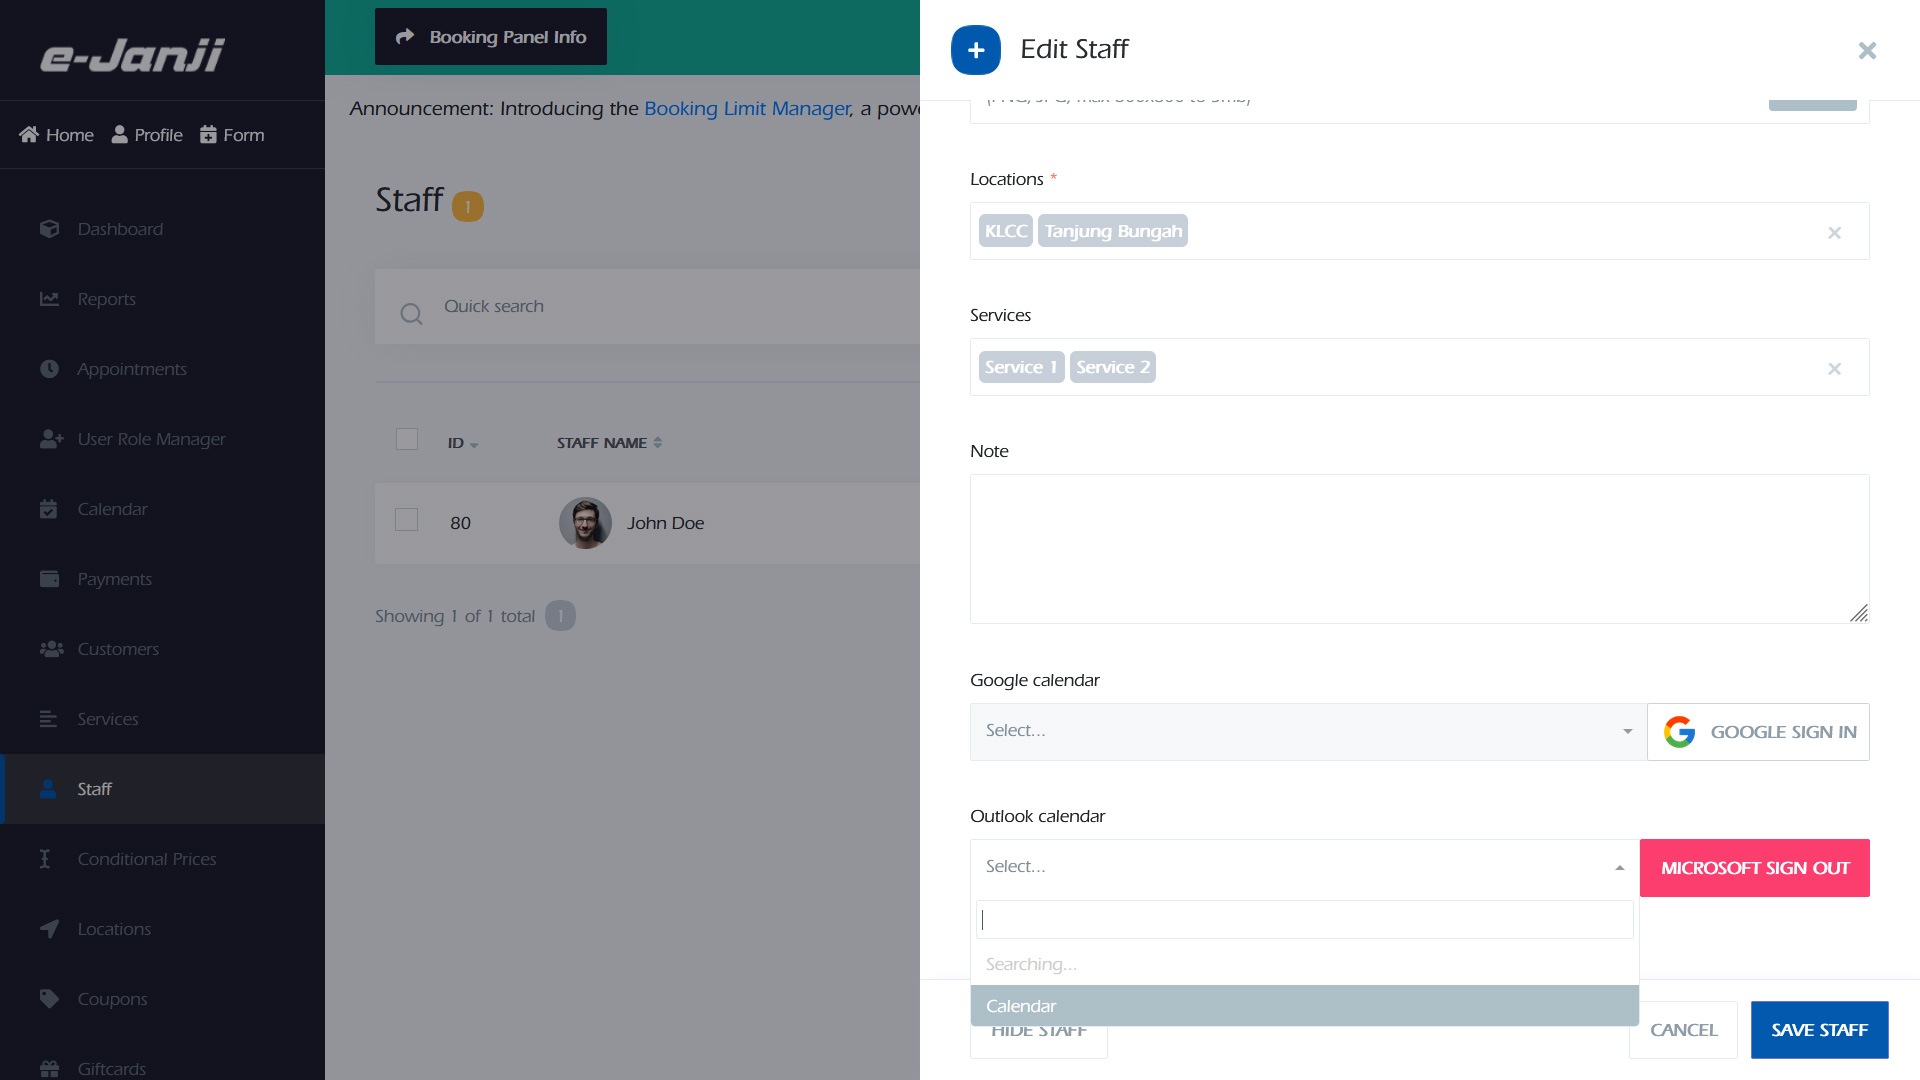
Step 5: After giving permissions, choose the calendar you wish to synchronize from the drop-down list. Click on “Save Staff” to save the changes.